Are grains paleo?
I will give you the simplest and shortest answer. No, grains are not paleo.
Looking for a little bit more detail regarding that fact? I figured, so I went to my trusty website Paleo Leap and found this very informative article explaining why grains are not paleo.
It turns out that our bodies were not constructed to consume and break down grains and actually no mammal really was made to eat grains. Ever notice that paleo and other health sites always state to purchase grass-fed beef? That is because cows are not meant to eat grains because they are not able to properly digest it and in-turn, it contaminates the meat. Purchasing high quality meat is definitely something not to skimp on.
Grains are known as a simple carbohydrate. This means that they break down into sugars very quickly which causes a spike in blood sugar and insulin levels. Your body will be working to convert the excess glucose (or sugar) into energy and storing the rest as fat; meaning, high blood sugar and insulin levels results in the inability for your body to burn fat. If you are to consume carbohydrates, focus on getting those from fruits and veggies or high-complex carbohydrates.
Simple Carbohydrates = Bad
- Breads
- Oatmeal
- Popcorn (this one makes me the most sad)
- Cereal
- Rice
- Tortillas
Complex Carbohydrates = Good
- Sweet potatoes
- Squash
- Veggies (greener the better)
- Fruit
- Pumpkin
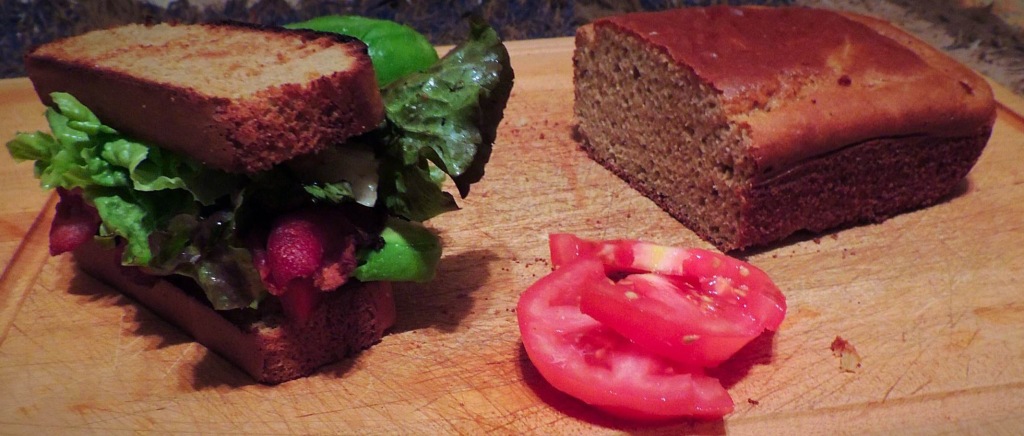
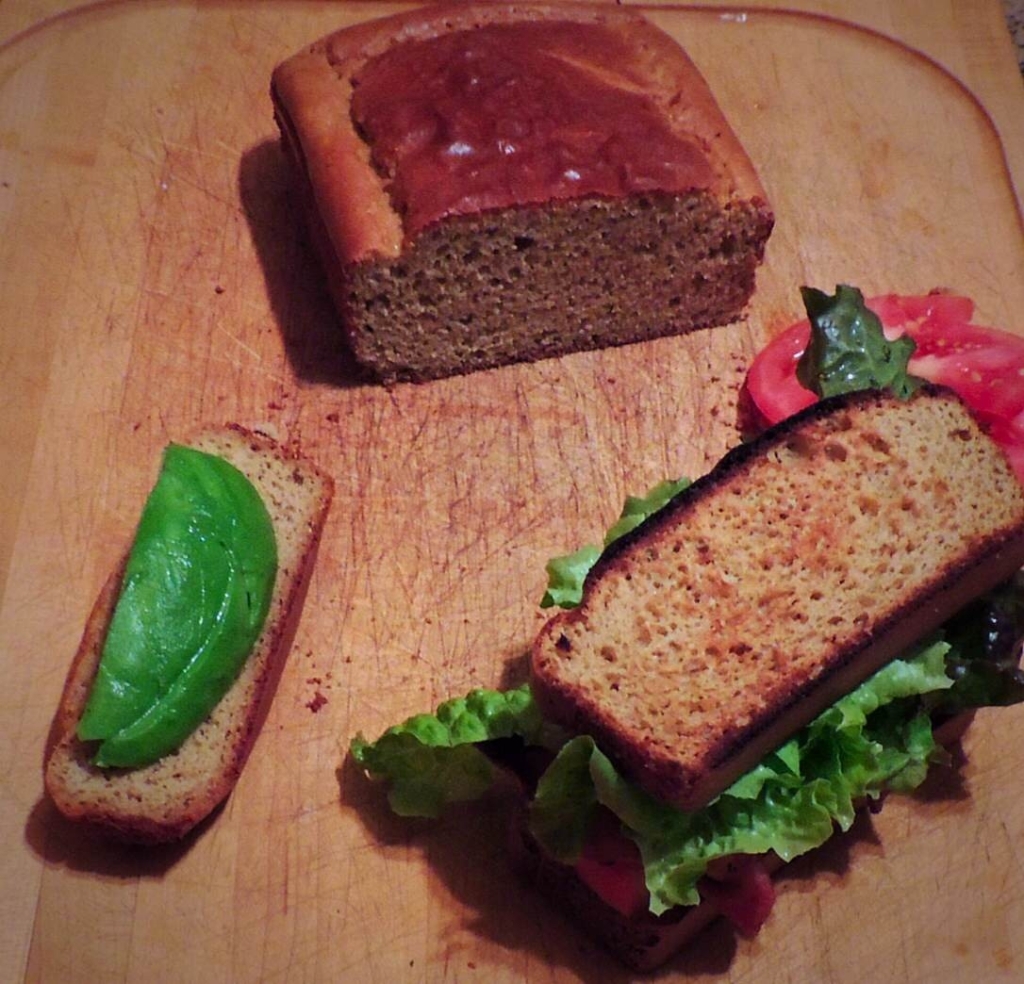
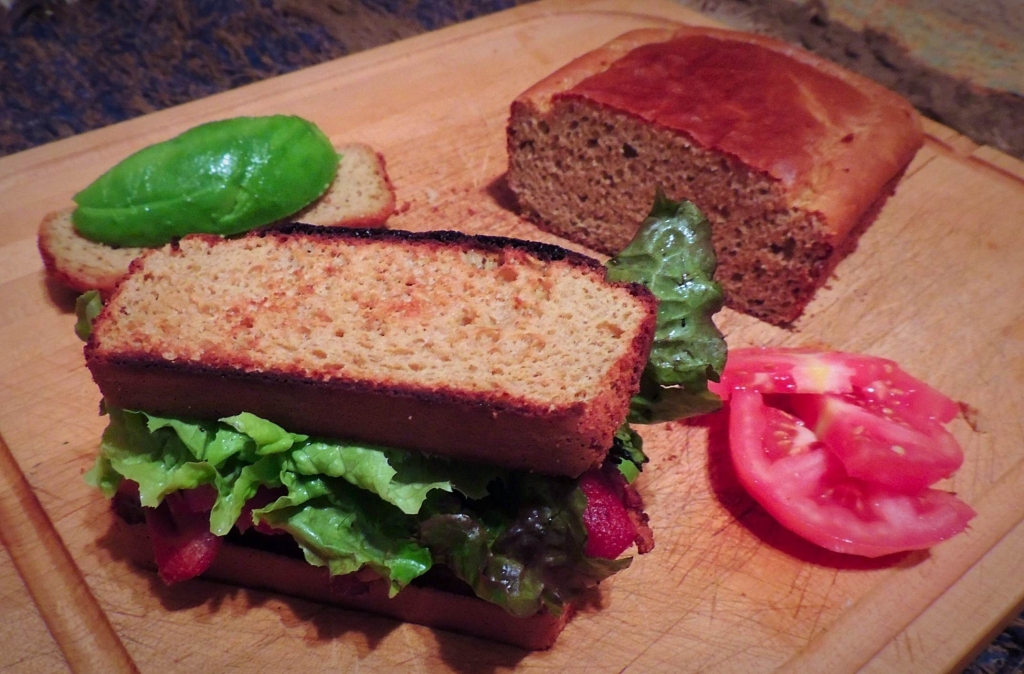
For some people it is extremely difficult to give up the comfort of their bread. So, why not make your very own paleo grain-free bread! I thought this recipe was going to be complicated and difficult, but it was actually extremely easy and didn’t take too long. Danielle Walker, blogger of Against All Grain and author of cookbooks Meals Made Simple, Against All Grain and Thankful is the genius and mastermind behind this recipe. I love reading her blog and recipes because she has such grace and detail to everything she does. So far I have used the bread for BLTA (bacon, lettuce, tomato and avocado) sandwiches, toast with my eggs and just last night I soaked up the very last piece in my crockpot beef stew!
- 1 cup smooth cashew butter at room temperature
- 4 large eggs, separate the yolks into on bowl and the whites in another
- ½ to 2 tbls honey (I used 1 tablespoon - Daniele mentions to use 2 tbls if you plan to use the bread for sweeter dishes like French toast)
- 2½ tsp apple cider vinegar
- ¼ cup almond milk
- ¼ cup coconut flour
- 1 tsp baking soda
- ½ tsp sea salt
- Preheat your oven to 300 degrees. For a white colored loaf, place a small dish of water on the bottom rack.
- Line the bottom of an 8.5x4.5 loaf pan with parchment paper then spread a very thin coating of coconut oil on the sides of the pan.
- Beat the butter with the egg yolks then add the honey, vinegar and milk. Best to use a hand beater.
- Beat the egg whites in a separate bowl until peaks form. Again, this is better to do with a hand mixer. What the heck are peaks? Good question because I had no idea either.Soft Peak - When you turn your whisk upside down, the peaks are just starting to hold. They're soft and melt back into themselves after a second.
- Firm Peak - Now when you turn your whisk upside down, the peaks will hold and the ridges are more distinct, but the tips fold back on themselves.
- Combine the dry ingredients in another small bowl.
- Make sure the oven is completely preheated before adding the egg whites and the dry ingredients to the cashew butter mixture. The baking soda will activate once it hits the eggs and vinegar.
- Pour the dry ingredients into the wet ingredients and beat until combines. This will be more of a wet batter than a dough. Make sure there are no clumps!
- Pour the beaten egg whites into the cashew butter mixture, beating again until just combined
- Pour the batter into the loaf pan and immediately put into the oven.
- Bake for 45-50 minutes until the top is golden brown and it passes the toothpick test - do not open the oven door anytime before 40 minutes!
- Remove from the oven and let cook for 15-20 minutes. Use a knife to free the sides from the loaf pan and flip it upside down to release the loaf from the pan. Cool right-side up for an hour before serving.
- Wrap the loaf up tightly and store in the fridge for up to 1 week.
"So far, the only way I’ve used this bread cold and not toasted is with an AB&J, and it was delicious! It is definitely on the more dense side compared to your breads with gluten and yeast, but it’s much lighter than a lot of the gluten-free breads sold in the store that are made with rice or tapioca. The bread gets even lighter and somewhat flaky when toasted or grilled in the panini press, so that is the way I’ve preferred it.
As for the cashew butter – I love Artisana’s product. I could eat it by the spoonful. It’s pricy, but no more expensive than almond butter (and I just found out has the same fat and calorie content!). You can make your own if you own a high-speed blender, but it takes some work. You may need to add a little coconut oil to get the extra smooth consistency that Artisana offers (I’ve used ¼ cup oil with 1.5 cups raw cashews). If you have a lumpy cashew butter, this bread will not work. The loaf made with homemade cashew butter will also come out a little darker and a bit more moist due to the oil.
The loaf doesn’t stand very tall, so for larger slices of bread like the french toast below, slice it in half, then lengthwise.
And lastly, for all of you coconut-phobes out there- Not to fear – this bread tastes absolutely nothing like it despite the use of coconut flour!"


